Squeaky Clean: How To Wash Your Bike
When and How Often Should You Wash
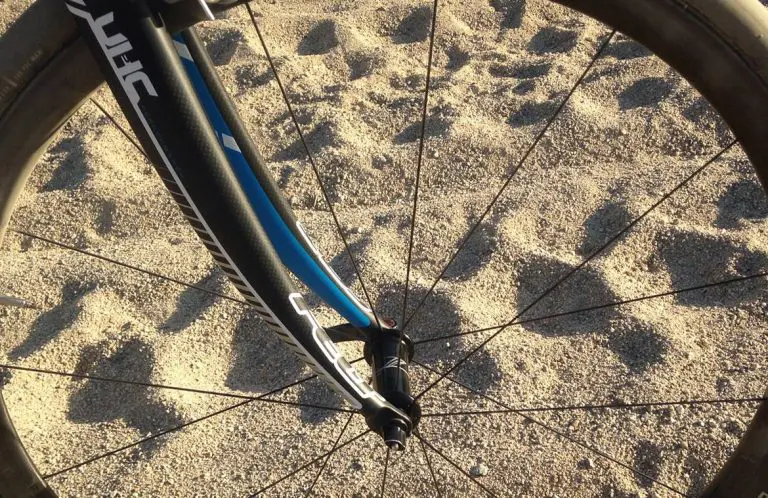
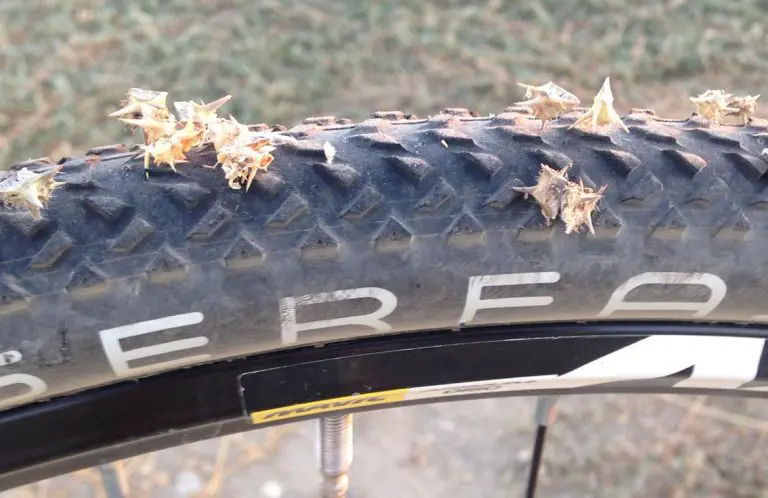
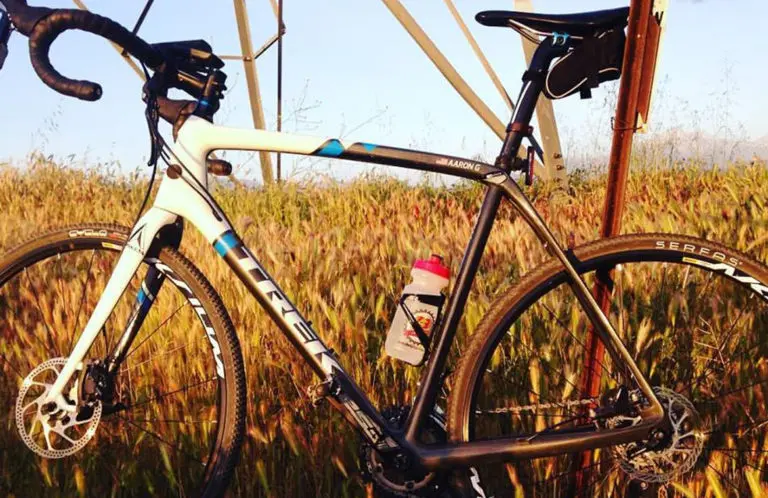
Hopefully you’re washing once a day, as for your bike it depends on the frequency you use it and, most obvious, how dirty it is. If you put in a lot of miles or generally ride a lot of environments that have sand, dirt, water, mud and grit then it’s probably a good time to treat your bike to a thorough wash, especially if it’s been a while or (yikes) has never been washed and your bike is years old.
Basic Wash Supplies
- Soft/Medium Bristle Scrub Brushes
- – An assortment of brush sizes is best but not required
- Stiff Bristle Chain Brush
- – An old toothbrush can get the job done although a proper chain and gear brush will save a lot of time, or better yet a chain cleaning tool
- Lint-Free Rags and Drying Towel
- – Those sturdy blue disposable shop rags on a roll work great as do old cotton t-shirts (and they’re free)
- Buckets and Garden Hose
- – Two bucket method — one for clean soapy water and the other for rinsing dirty brushes
- – For apartment dwellers with no convenient hose access — a portable 2 1/2 gallon or larger garden sprayer is an affordable solution
- Wash Soap
- – There are plenty bike specific soaps to choose from but most car wash soaps are a safe option
- Degreaser
- – In a pinch regular Dawn dish soap works well otherwise there are a variety of environmentally safe biodegradable options on the market
- – Don’t use any hardcore industrial-grade caustic degreasers, you can get chemical burns if you don’t know how to properly handle these chemicals and it will likely damage the finish of your bike and potentially etch metal components (Simple Green® is relatively easy to find safe degreaser that is biodegradable)
- Bike Stand (Optional)
- – Completely optional but you only have two hands after all, a work stand that you can secure your bike to up off the ground will make cleaning a lot easier, faster, and save you from a back ache
- Lubrication
- – Very important, you will need to properly re-lubricate your chain and components after everything is cleaned and dry
You can make-do with a variety of alternative brushes and wash product substitutes but if you plan to put forth a solid effort to prolong the life of your bike by cleaning it on a more regular basis it will be worth investing a little money to acquire the essentials. Having the right tools will save you time as well since they’ll typically work a lot better.
BEFORE YOU START…
If there’s anything on your bike you don’t want to get wet, or know shouldn’t get wet, be sure to remove those items first (leather saddle, bags, computer, etc.)
STEP ONE: SPRAY WITH WATER
Using a regular garden hose spray down the entire bike top to bottom. If there’s lots of caked on mud and debris it’s perfectly fine to use the full or stream spray settings to knock stuck on gunk off. As far as using a high pressure sprayer like a power washer… there are arguments both for and against using one, many people say it will ruin your bike by forcing water into places it doesn’t belong, like hub and wheel bearings, while the other side of the argument claims it’s totally fine so long as you don’t blast high pressure water into these areas from two inches away all day long — it’s your bike, do a little research and use whichever method you feel most comfortable with. If you’re without a hose fill a bucket with water (or use a garden sprayer) to pour over the entire bike, it may take a few buckets but you can count the extra effort as exercise at least. This step is essentially a pre-wash, the goal here is to remove as much stuck on contaminants as possible before you start scrubbing at anything.
STEP TWO: DEGREASE AND BRUSH DRIVETRAIN
While the bike is still wet, thoroughly spray degreaser soaking the cassette, derailleur, chainrings, and chain. Get up in there with it and really saturate everything thoroughly. Backpedal your chain by hand a few times to help distribute the degreaser and work it deeper into the chain links. You can let this soak for a couple minutes but you want to avoid letting it dry on your bike, ideally do this in the shade where evaporation is slower. After letting the degreaser work its magic use a stiff bristle brush to agitate and scrub the drivetrain while periodically dunking the brush into your designated rinse bucket, or just use the hose to spray the brush clean. If you have a chain cleaning tool now is a good time to use it otherwise you can, with a degreaser soaked rag in one hand, make a semi-tight fist around the chain with the rag and backpedal using your other hand while carefully allowing the chain to travel through the rag. Repeat the degreasing process as necessary. If your chain is especially dirty or rusted it may be best to remove it entirely to allow it to soak in degreaser for a longer period of time. If you’ve forgotten what a clean drivetrain looks like you should start to notice all the dark nasty-looking crud come off and metal surfaces become bright and shiny.
STEP THREE: WASH WITH SOAP AND WATER
You may be wondering why this isn’t part of step one — The drivetrain should be thoroughly degreased and rinsed before you proceed to washing with soap and water because you want to avoid contaminating your wash brush with grease, dirt, and other abrasive particles that would otherwise be rubbed all across the frame and components – working in this order reduces the chance of cross-contamination, scratches, and cleans away residual degreaser that otherwise could inhibit lubricant reapplication.
Into your designated clean bucket dunk your soft or medium bristle scrub brush in the soapy water mix and brush the entire bike – it’s best to start at the highest point and work your way down, the same way a car should should be washed. Don’t forget the wheels, spokes, and tires. It helps to work in a space where you can move your body around the entire bike to make sure you are washing from all sides. Rinse the bike and your brushes frequently after each top to bottom pass, keep in mind dirt washes downward so avoid inadvertently dragging grime from the dirtiest bottom areas back up to the top.
Now is also a great time to look out for any air bubbles that might form on your tires while covered in soapy water, you can more easily spot slow leaks you didn’t know about while the tires are wet.
STEP FOUR: DRY AND RE-LUBRICATE
For relatively effortless drying you can simply leave your bike outside in the sun. If you don’t have a safe place to leave your bike or don’t feel like waiting around just give it a thorough wipe down with a drying towel — if you know you have hard water in your area you might want to towel dry regardless to help prevent water spotting. If you’re in a hurry, or have zero patience, you can position a shop fan, use a leaf blower, or even an air compressor to blast it dry. An especially quick and simple method is to just lift the bike a few inches off the ground and drop it to its tires several times until you no longer see water drops fall to the ground and then finish up with a towel or leave to air dry a few minutes.
When everything is finally dry again it’s crucial to re-lubricate all necessary components. You would never run the engine of a car with no oil in the pan right? Doing so would lead to permanent damage and in no time a seized motor. Lubrication ensures parts continue working correctly and optimally with minimal friction. Lubrication is the most important step in protecting metal-on-metal surfaces from developing corrosion, rust, and wearing out prematurely. We can’t specifically instruct how to re-lubricate your bike since not all bikes are exactly the same, but notable components you usually need to lubricate or grease are the chain, clipless pedal springs, brake and shift cables, suspension pivot points, and derailleur pulleys — to name a few.
If lubricating your bike’s components by yourself seems intimidating we recommend having a bike knowledgeable friend help show you how or bring your bike to a local bike shop for service and politely ask to see how the re-lubrication process is done.
It should be noted that oil and grease are not to be used interchangeably as each exhibits different properties and accomplishes different things, grease especially will make quick work of attracting dirt and gunk up components if not used correctly.
With your bike now cleaned and properly lubricated it should be riding smooth and looking practically brand new once again. Don’t forget to re-install any accessories you might of taken off before washing. Only thing left to do is get back out there and enjoy your freshened up bike!